If your household paperwork is a mess, one of the first things you should do is set up an organized home filing system.
Aside from keeping your important documents safe, a home filing system will also make your job as a mom A LOT easier because you’ll be able to find what you need at a moment’s notice.
And best of all, you won’t have random piles of paper cluttering up every flat surface in your home!
Despite all of the benefits, some people think that a filing system is a lot of work.
I used to feel the same way. so I let the papers pile up all over our house. Eventually, they covered our dining room table, which forced us to have to eat in the living room. 😞 I knew something had to change, so I figured out the best way to file all of our household papers.
And now I’m here to show you how I did it!
It’s up to you how you will decide to file your household paper. There isn’t a specific right or wrong way since everyone and every family is different.
With that being said, I will go over a couple of common categories that might be helpful for families. And I will also go over a few of the ways that I organize the paper in my home.
After reading this post, you will know exactly how to create an organized filing system. And you’ll have a pretty good idea which home filing system categories will work for you.
So let’s get right into it!
This blog post may contain affiliate links. This means if you click and make a purchase, I may earn a small commission at no cost to you. Please see my disclosure policy for full details.
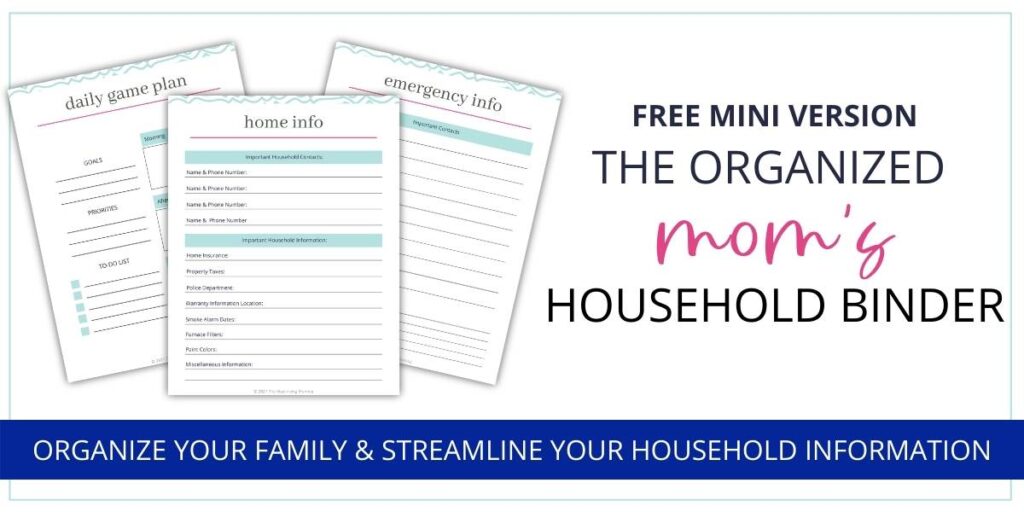
Take it a step further with a free mini household binder!
Use this mini printable set to help you organize all of your important household information
Step #1 – Take Note of Your Home Filing System Needs
There are a few things to consider when it comes to organizing your household paperwork:
– You want your system to be easy to use
If it’s too complicated or too jam-packed full, you’ll likely avoid using it altogether.
– It needs to be organized so you can find what you need
– And you want your filing system to be adaptable to life’s changes
For example, if you plan to have more children, you will need to add more files to keep their personal records stored separately from your older children. You also may need to add files as you get older, such as retirement information, investment documents, wills, etc.
So take some time to consider what needs you have in relation to your home filing system.
Step #2 – Consider your Storage Space
Before you go out and purchase anything, you will want to consider your storage needs.
Do you have the space for a filing cabinet? And will it be easy to access?
If not, no worries! There are lots of filing cabinet alternatives!
Plastic File Containers
These are sturdy and budget-friendly and you can stack them on top of each other.
They are just the right size for storing by category or by the person. And the plastic surface is great for creating personalized labels.
You may have seen them on Pinterest for storing entire collections of school papers. File containers (or file boxes) have so many great uses!
Click here to order one from Amazon.

Cardboard Bankers Boxes
Bankers boxes were originally created for the purpose of storing multiple records in a single location. They are made from cardboard, which makes them very cost-efficient.
But they also work well for storing personal files in your home! Bankers boxes are best used for files that you won’t need to frequently access, as they are meant for stacking.
You can get some on Amazon here.

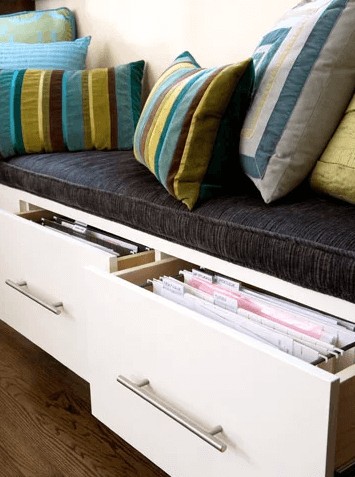
Storage Bench
This would be awesome if you have the time and the means to create one of these!
And I found a tutorial that shows exactly how to create a drawer bench!
If you don’t have room for a traditional home filing system, this would be an excellent way to make use of a bench that you already have! Of course, I haven’t built one myself, so if you decide to build one, let me know how it turns out. 😉
DIY Filing Basket
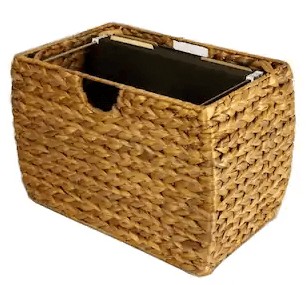
What a gorgeous way to store your household paperwork!
This is a perfect solution if you don’t like the harsh look of filing cabinets, plastic containers, or cardboard boxes. You could place these strategically around your home office without compromising your decor.
The basket pictured below is available on Overstock.com for $35.
Or you can make your own using a wicker basket and a file frame kit!
Lateral Filing Cabinet
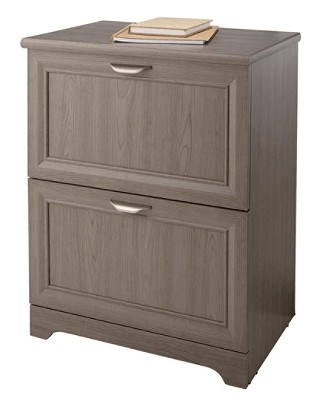
A lateral filing cabinet is typically found in an office setting. But you can find some very nice ones for your home! They usually come with two or more deep drawers. And the files can be positioned either front to back or left to right.
They are ideal for homes that have a lot of files. And you can usually find lateral filing cabinets in more style options than traditional filing cabinets.
This particular cabinet from Office Depot is one of the more budget-friendly cabinets I have found. As of Feb 2020, it’s on sale for $99.
Step #3 – Purchase Supplies
Once you’ve decided on a filing system, it’s time to purchase the supplies you will need!
Whether or not you decide on a filing cabinet or another option, you will still need some hanging files and manila file folders.
But there are a few different options to consider:
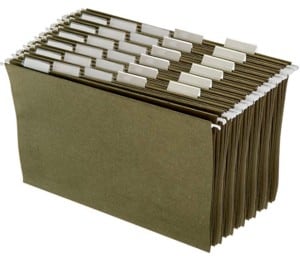
Hanging Files
- Legal-size
- Letter-size
This is referring to the size of the paper. Legal-size is usually found in an office or legal setting. While letter-size is probably what you come in come contact with most often at home.
If you have a standard size filing system, you will most likely need letter-size hanging files. Whereas, with a lateral file cabinet, you can use either legal or letter size.
Hanging files typically come in a pack of 25 for about $10. And you can find them in every color of the rainbow!
You can purchase some at an office supply store, Walmart, Target, or Amazon.
Manila File Folders
Manila file folders are used inside of hanging files to further separate types of files.
There are a handful of different options to choose from.
- 1/3, 1/2, 1/5, 2/5, or straight-cut tabs
- Assorted, left, right, or center position
This refers to the size and position of the tab that is shown at the top of the folder. It’s mostly a matter of preference. Some people prefer to have their tabs all in a straight line, while others prefer to be able to see them all at a glance.
These are available at all the same locations as the hanging files. Or you can click here to order some on Amazon.
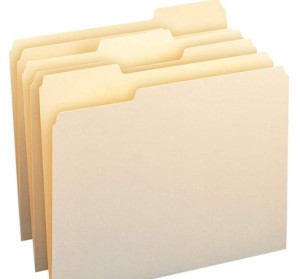
{Side Note} I recommend purchasing file folders in one position, either left, right or center. Simply because it’s easier to add and remove files when the tabs are all in a straight line. Plus, assorted tabs are harder on the eyes because you have to dart your eyes around just to find the folder you need.
Label Maker
A label maker is optional, but if it’s in your budget, it is definitely nice to have!
I used a label maker to create all of the categories in my file system. It helps me identify the labels more clearly, especially since my handwriting is so terrible!
The Brother P-Touch label maker is just right for basic household use. I’ve had one for 3 years and it’s still working great! They are currently around $30 on Amazon.
Step #4 – Gather all your Paper
Now that you have all of the supplies you will need, the next step is to gather all of your paper.
This step isn’t necessary, but I do recommend it.
When I first set up a filing system in my own home, I had paper piles all over the house. I tried filing by the pile, but I quickly realized that wasn’t the best idea. I kept finding more and more categories that I needed to add to the hanging files, which caused me to have to re-do and rearrange the tabs.
If you have just finished decluttering your paper from Part 1 in the Household Paperwork series, you can skip this step because all of your paper should already be combined.
Otherwise, all you need to do is simply gather all of your paper into one specific spot.
This can be a dining room table, a desk, or even the floor.

Step #5 – Start Categorizing!
Gathering all of your paper into one spot will make it easy to identify which categories you will need for your filing system.
I suggest creating a list of the categories you can identify throughout your paperwork. So flip through all of your paper and take note of any categories or subcategories you notice.
These will be used for your folder headings.
There is no right or wrong way to do this. Each and every home will have different categories, and everyone has their own preferences. You may prefer to keep your personal documents filed by type, as in all birth certificates together, all medical records together, etc. Or you may choose to file by the person.
Either way, I will go over a couple of common household categories, as well as the categories that I have in my own filing system for a family of 6.
Financial Records
- Bank Accounts (separated by account)
- Taxes (by year)
- Income (pay stubs, SSI or Disability statements)
- Debts
- Credit Card Statements
- Student Loans
- Bank Loans
- Charitable Contributions
- Rent
- Mortgage
- Bills
- Retirement Accounts
- Investments
- Pensions
Any other financial records would also belong in this section of your home filing system.
Household Documents
- Renters Insurance
- Homeowners Insurance
- Car Insurance
- Car Titles, Loan Documents, and Maintenance Records
- Warranties and Receipts (keep bulky manuals elsewhere
- Furniture
- Appliances
- TVs
- Cell Phones
- Jewelry
- Memberships
- Services
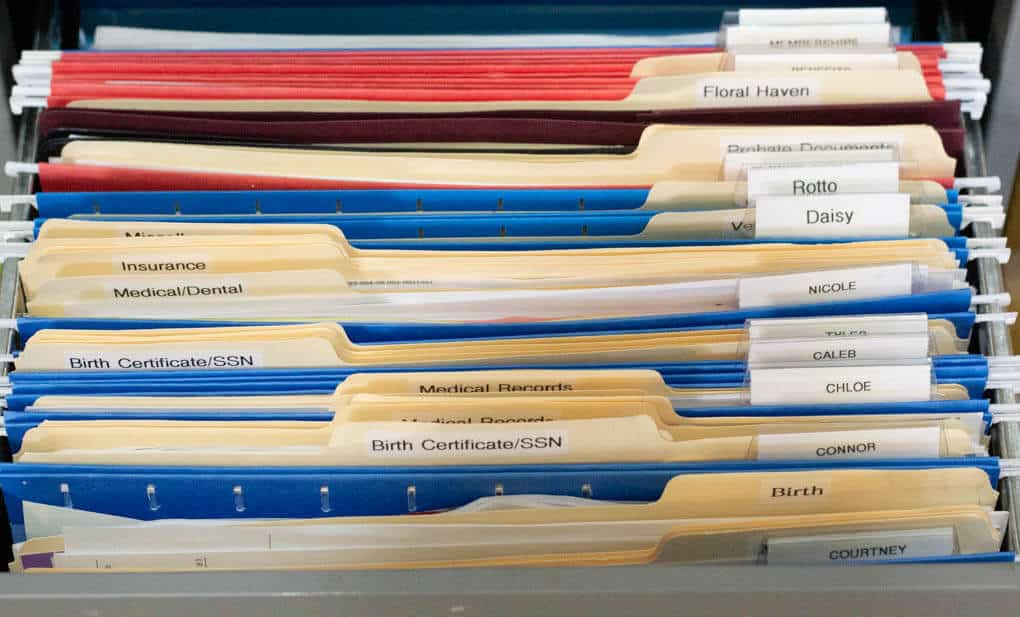
You can certainly keep vehicle information in a separate category. I have my home filing system set up this way because the bottom drawer of my filing cabinet is reserved for all of our personal documents.
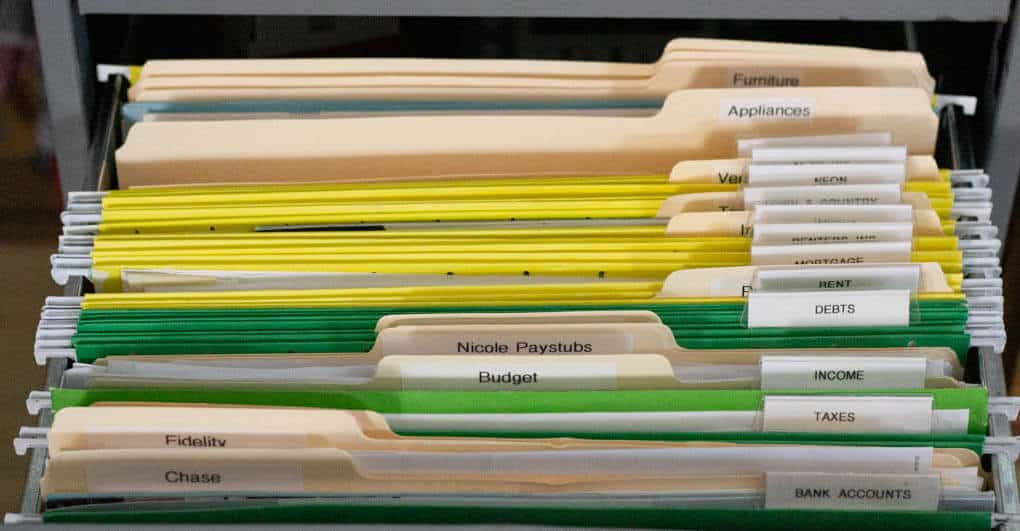
As you can see, my filing system has assorted tabs on the file folders. I purchased these years ago before I knew that straight-line filing was a better option. I managed to make it work by grouping the left, right, and center tabs into “categories”. They don’t match up perfectly, but they’re sufficient.
Vital Records
- Birth Certificates
- Passports
- Marriage Certificates
- Death Certificates
- Immigration Documents
- Drivers License/Social Security Cards
Personal Information
- Health Insurance
- Immunizations
- Medical/Dental Records
- School Information
- Artwork (I only have an artwork file for my toddlers; my older children’s art goes in a dedicated box since there is so much of it)
- Estate Information/Probate Documents (for deceased family members)
- Pet Info (vet records, immunizations, and receipts)
- Miscellaneous
Education Records
- Transcripts
- Degrees
- Diplomas
- Certificates
Step #6 – Add Labels Based on Your Personal Categories
Don’t skip this step just because you don’t have a label maker. Labeled categories are the most important part of a home filing system!
If you can’t easily identify which folder is used for what purpose, you will likely avoid your filing system altogether.
And that won’t do you any good at all! So create labels for your personal categories in whatever way makes sense for you.
You can print off your own labels from your computer or handwrite them with a dark marker, such as a sharpie.
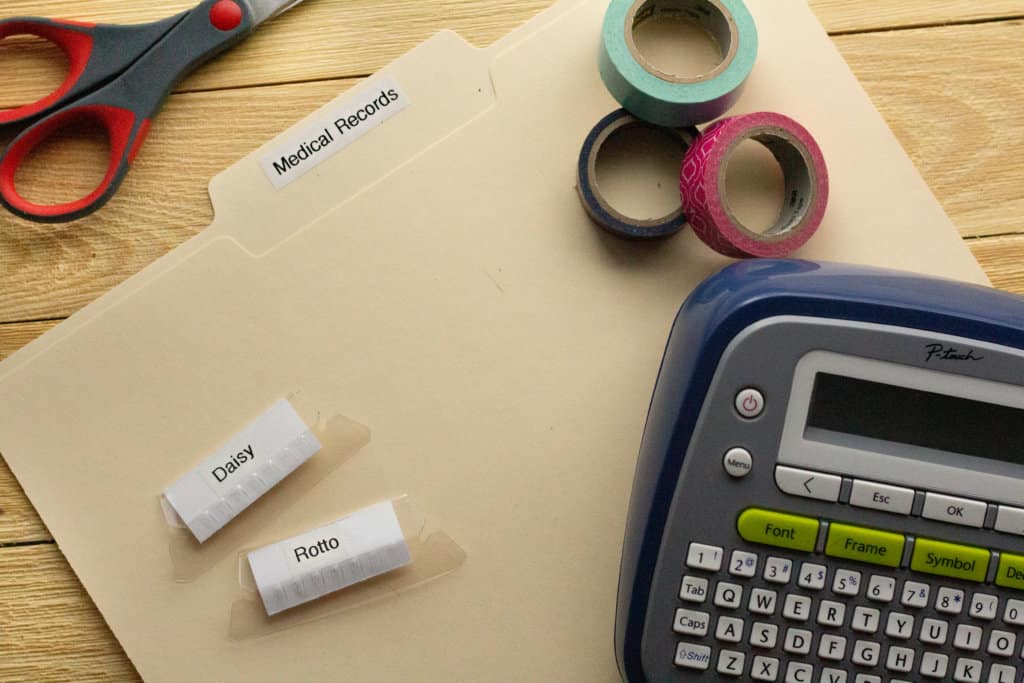
A cat showed up at our door this past week, so I need to add another medical records file for him.
Before today, I kept our dog Daisy’s medical records filed alone. Now that we have another pet, I need to add a second hanging file.
Ideally, each hanging file will be used for main categories, with the manila file folders being used for subcategories.
In the example above, I created two new hanging files for our cat and dog, Daisy and Rotto. And within their hanging files, I have file folders to separate subcategories like medical records.
Everyone in my family has their own hanging file and each of us has individual subcategories that are stored inside of our hanging files. We have file folders for birth certificates, medical insurance, etc. But my kids have extra file folders for artwork and immunizations.
Having our filing cabinet set up this way makes it super easy to add and remove categories as needed. (For example, a cat showed up at our door this past weekend, so I used this filing cabinet organizing session as an opportunity to create a new hanging file just for him!)
Step #7 – File Everything in the Appropriate Category
Now, all that’s left to do is start filing all of your paper!
I’ll be honest, this part can take a while. But it is SO worth it!
The easiest way to do this is to quickly sort through a small pile of paper and add each piece to a general category. Once all of the paper is in the appropriate category, then you can go through and divide them up into further subcategories.
In the image below, I’m filing my family’s personal documents.
Working in 15-minute sessions, I sorted through small stacks of papers that needed to be filed.
Every single piece of paper ended up in someone’s pile. Whether it was medical records, artwork, or paystubs. This left me with a couple of general stacks for each family member (which are separated by post-it notes).
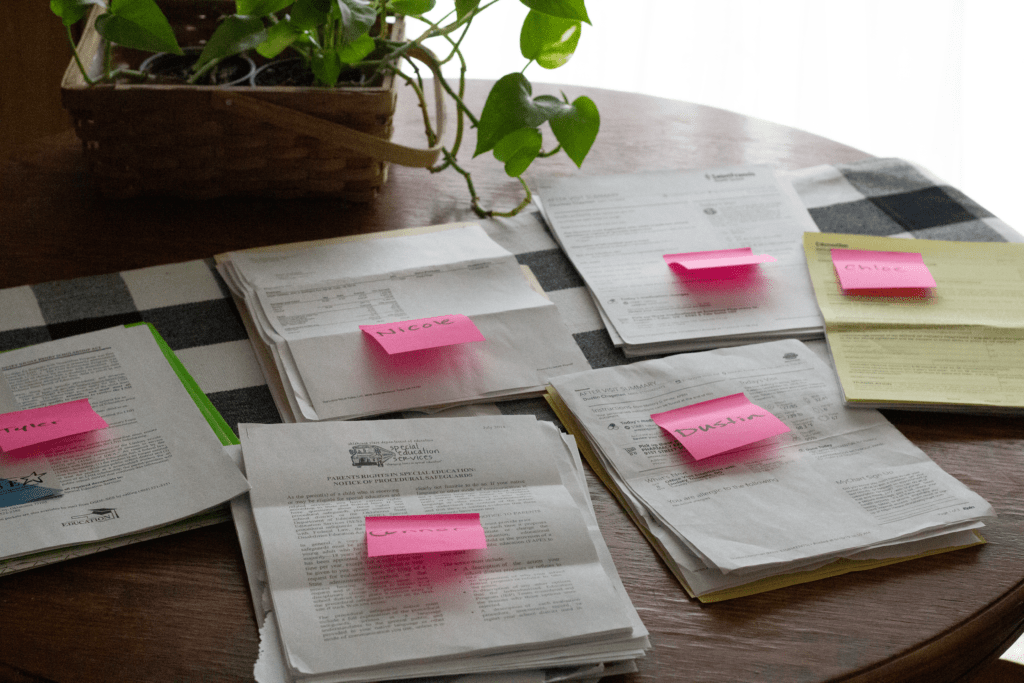
When I finished sorting through the original stack of paper, I started subcategorizing one family member’s pile at a time.
For example, my stack had a handful of old paystubs and a few insurance statements. The paystubs were filed in my Income file under “Nicole’s Paystubs”, and the insurance statements were filed in my personal file, under “Insurance”.
Filing is a breeze when all like papers are combined together! If I had tried to file the initial stack of paper one at a time, it would have taken a lot longer to search for the “Income” folder every time I came across one of my pay stubs.
Take as much time as you need to file everything. You want to make sure each piece of paper gets placed in the appropriate category.
Step #8 – Use Other Filing Systems if Necessary
Remember, you don’t have to stick to a basic filing cabinet. If filing cabinets aren’t your thing, there are many other ways to organize your paper.
You can use some of the systems that I mentioned at the beginning of this post like file containers or bankers boxes. Or you can use binders! Some people like to use binders to store all of their household documents.
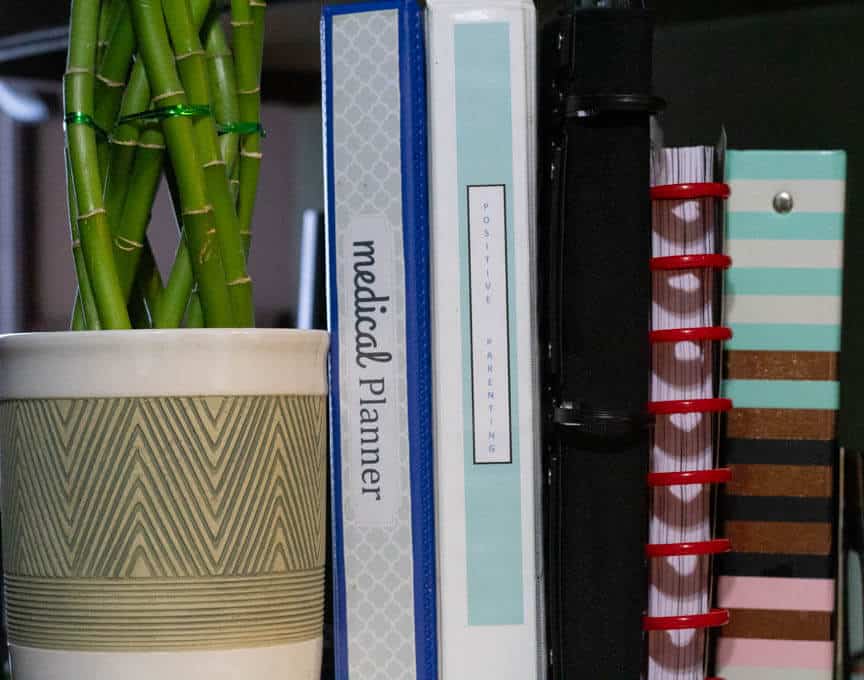
For instance, I use binders for specific papers that I access frequently, like my medical records. I don’t keep all of my family’s medical records in a binder, only mine because I need to bring them with me to the doctor quite frequently. Having them in a binder makes it easy to grab when I’m running out the door.
I also use a binder for my meal planning pages, blog paperwork, bulky appliance manuals, and some information on a Positive Parenting program I’m enrolled in. I use two bookends to store them on our bar counter next to the microwave.
Alternatively, you could opt to keep your vital records in a safe or a fireproof box.
To be honest, this is something I’ve been meaning to do. It’s on my to-do list. 😉
Your Turn
So, are you ready to set up your home filing system? Don’t let the thought overwhelm you! As long as you follow the simple steps listed above, you’ll be able to knock it out in no time!
You can even break up the process into individual steps. Give yourself a large enough workspace and you could work on one step at a time whenever it’s convenient for you!
Remember – this process will work for any type of filing system.
Whether you use a traditional filing cabinet, a couple of file boxes or a series of binders, just make sure you follow the steps in the right order:
- Consider your personal needs…
- …And your storage space
- Purchase the right supplies
- Gather all of your paper
- Take note of common categories and subcategories
- Add labels
- File everything in the appropriate category
- Use other filing systems if necessary and don’t be afraid to change it up if things aren’t working
Setting up your home filing system lifts a huge weight off your shoulders. It’s so freeing being able to find what you need at a moment’s notice!
When you’re ready to streamline your household and organize your paperwork, grab the free mini version of The Organized Mom’s Household Binder. 👇 When you have all your important information streamlined in one dedicated spot, you’ll save time and brain space so you have more free time to spend on what you love!
Recent posts
The Ultimate Guide: How to Organize Mail
How to Organize Daily Paperwork
A Simple Solution for All That Incoming Paper
Wondering How to Get Organized? Do This!
How to Organize Your Email Inbox Once and for All
20 of the Most Inspiring Command Centers


Leave a Reply
You must be logged in to post a comment.