Do you struggle with paper clutter too? If paper piles are covering every flat surface in your home, it can feel really overwhelming. And what makes it worse is when more paper keeps coming in… day after day after day. How in the world are you supposed to manage it all when you don’t even know where to start?!
Well, you’re in luck! I know exactly how you feel because I have been there before. Paper piles covered every inch of my dining room table. They covered my coffee table, my nightstand, and my desk. I even had a bookshelf that I bought specifically to organize all our paper piles. But it was mainly used as a holding spot for reference material.
The problem that I faced was that I didn’t know how to process paper as it came through my door. So I set a goal to declutter my paper piles and learn how to organize all my household papers for good. And the tricks I learned are still helping me handle the paper in my house today, even after a few years.
My household paper is under control, but I still struggle with it from time to time. It’s important to declutter your paper a few times a year, and I could use a refresh! So I will be decluttering my paper piles right along with you! Let’s get started!
Decluttering Doesn’t Have to be a Big Project! Grab this 30-Day Declutter Calendar and start tackling your home one space at a time
Before we get started, let’s go over a couple of common questions:
- If you have a lot of paper piles, don’t try to go through them all at once!
Unless you have all the free time in the world, going through multiple stacks of paper in one sitting might be too overwhelming.
You’ll likely end up making a bigger mess and there’s a good chance that you won’t be able to get to it in a reasonable amount of time. This could inevitably cause you to burn out and give up.
- Don’t attempt to declutter your piles and organize them at the same time.
Focus on just one task at a time! Declutter first, and then organize.
- If your papers are already organized, you may want to go about this in a different way.
For example, most of the paper in my home is now categorized in some way.
I have a file cabinet, a paper inbox, a hanging file for weekly papers, and a craft cart for distance learning school stuff. I also have a few miscellaneous receipts in a couple of drawers. So instead of going through one pile at a time, I will be sorting through one area at a time.
You can also choose to work by category. Tax documents, all personal information, medical records, school papers, mail, receipts, etc.
Step #1 – Decide How You Will Tackle Your Paper Piles
Start by determining how you will approach your household paper.
It’s up to you how you want to approach your paper. But it’s helpful to consider how your paper is stored throughout your home.
If you have a lot of piles, you can focus on one pile at a time. Or you can work by category, such as all personal information, tax records, etc.
Alternatively, if your paper is organized, you can focus on one area at a time, such as your file cabinet or your desk.
Next, set a limit on how much paper you can sort through each day.
But be honest with yourself. Don’t convince yourself that you can do this in one weekend if you know you can’t.
When you’re first starting out, it’s easy to find the motivation to tackle a large area at once. But you’ll end up burnt out before you reach the halfway point.
Instead, aim for small, 15 minute chunks of time.
Focus on small time frames because it’s easier to keep the momentum going.
So take into account how you will approach your paper and how much time you can devote each day. And then go from there.
To put things in perspective, I have four kids and a busy household, and I don’t think I will realistically be able to sort through more than one small stack a day.
Step #2 – Clear a Work Surface
You’ll want to have a clear work surface in order to sort through your piles of paper.
It doesn’t matter if you choose your kitchen counter, dining room table, coffee table, or even your desk. But pick one area and clear it off.
Make sure you’ll have plenty of room for your specific needs. If you have a lot of paper to go through, don’t give yourself a tiny little table to work on. Otherwise, the paper will end up on the floor in a big ol’ mess. And you’ll probably end up more overwhelmed than you were to begin with.
Also, avoid keeping any paper on the work area if you won’t be sorting through it right then. This prevents miscellaneous papers from getting mixed up with the papers you have already sorted.

Step #3 – Choose a Pile to Start With
Now it’s time to get started! Choose a pile to start with; any pile. Don’t put too much thought into this step. Unless you have a specific pile that consists of important papers, it doesn’t really matter one way or another where you start.
Bring the pile or category of paper to your work surface.
Grab yourself a drink, pull up a chair, and get comfortable!
Step #4 – Quickly Sort Through Each Piece of Paper
Now it’s time to start sorting!
The goal here is to be able to quickly sort through every piece of paper. You want to make a decision on it as soon as you pick it up. And then you want to be able to immediately place it in the right category.
In order to make this process as quick as possible, just focus on whether or not you need to keep a piece of paper.
Don’t worry about dividing your keep pile into further categories just yet. For now, just focus on whether you want to keep a piece of paper or not.
Having only two choices is what makes this so quick! Trying to categorize a paper that you want to keep will only postpone the process.
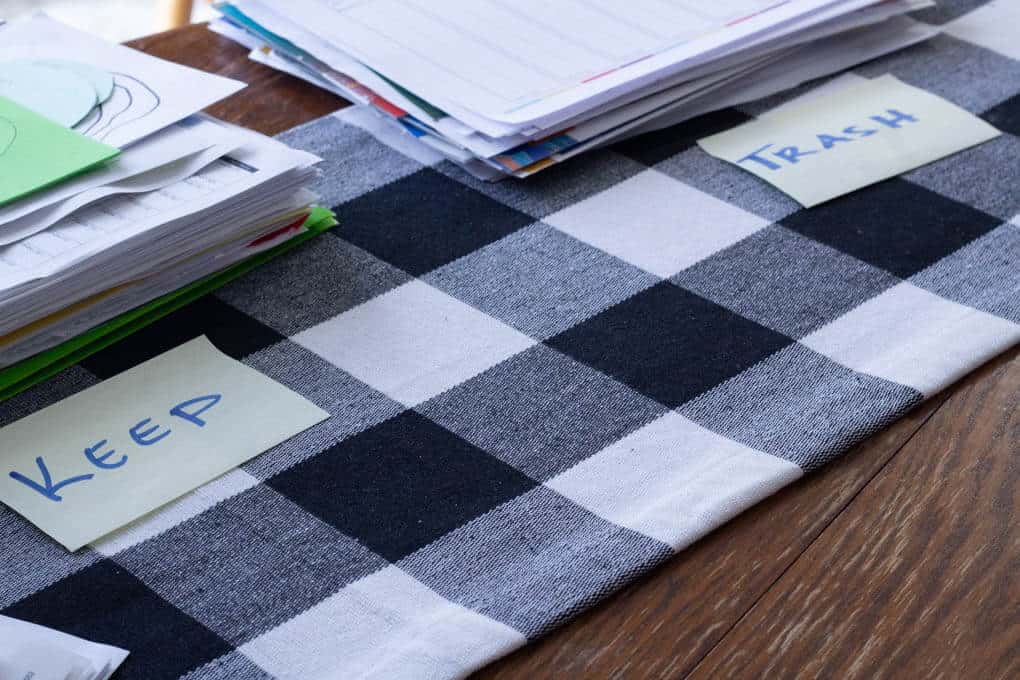
You can divide the “don’t keep” pile into shred or trash. But everything you want to keep should go into one stack on the table.
Working swiftly, grab one piece of paper from your pile and then, immediately decide whether you need to keep it or not.
The easiest way I have found to do this is with post-it notes. I have two categories on the table, keep and shred. I separate each category by post-it notes. And the papers that are basic trash get thrown in a recycling bin next to the table.
Every now and then, you might come across a piece of paper that you need to act on right away, such as a permission slip or a recipe. In that case, I place those papers on my kitchen counter. But I make sure to act on them during the cleanup process, otherwise, they might just turn into another pile of random papers.
Once you’ve finished sorting through the pile, you have two options. Either choose another pile to sort, or clean up.
Step #5 – Clean Up!
Make sure you take the time to clean up after each session.
If more than a few days pass, there’s a good chance you will forget which piles contain what, so it’s best to get this done and over with as soon as possible!
Here are the steps I take to clean up the area until I sort through another pile the next day:
– First, you should shred everything in the shred pile right away
This is the most important part of the cleanup process. When you’re getting rid of old papers, you want to take extra care to make sure some of your personal information doesn’t accidentally end up in the recycling bin.
If you don’t have a shredder at home, no worries!
There are some pretty interesting shredding techniques online!
Click here to find out how to make paper pulp out of your documents. (The second method in this article talks about burning unwanted paper. However, burning paper generally isn’t a good idea because of city laws and possible pollutants.)
You can also take all of your personal info to a local office supply store and have them shred everything for you.
After dealing with my late mother’s estate, all of her mail, and her personal papers, I had an unusually large amount of paper to shred. I used an extra-large shopping bag to hold it all.
I keep it up in our attic; taking it to my local office supply store is on my list of things to do. 😏

– Next, you should add the remaining unwanted papers to the recycling bin
– Then, clean up the work area
– This will leave you with the keep pile
After handling the shred and trash piles, all you should be left with is the keep pile.
If you have a considerable amount of paper left to declutter, I would hold off on doing anything with the keep pile.
Just keep it in a neat stack until you have finished sorting through all of the paper piles in your house.
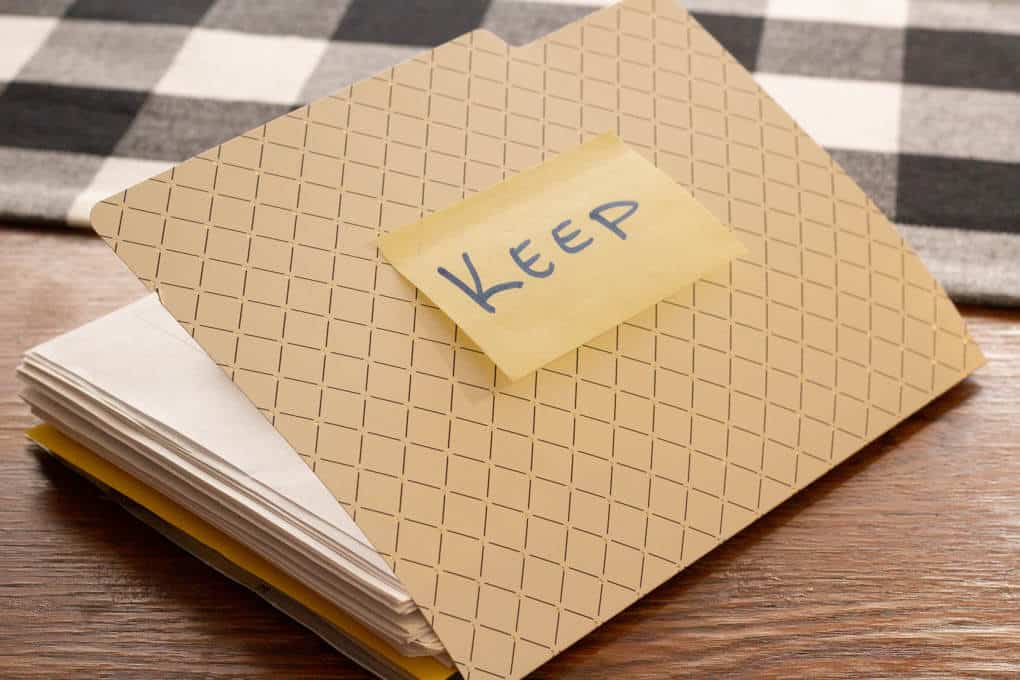
I like to keep a post-it note on top of the papers that I’m keeping to make sure they don’t get mixed up with anything else. You can also use an individual basket, a magazine file holder, or even a manilla folder.
Step #6 – Repeat for All the Paper in Your House
I repeat this process until I’ve sorted through all of the paper piles in my home.
First, I choose a pile. Then, I quickly sort through each piece of paper; deciding whether to keep it or toss it.
The paper I need to keep goes in the stack on the table. Anything that needs to be shredded goes in a separate stack on the table, and trash goes on the floor.
Once you have gone through all of your paper piles, you’re ready to start organizing!

Ready to Tackle Your Paper Piles?
Remember, this system will still work even if you don’t have piles of paper.
Whether you have paper piles or not, tackling all of the paper in your house can be a monumental task. But following this system will make it a lot more manageable!
Instead of thinking of all of your paper piles as a whole, resolve to focus on just one pile at a time.
This process is quick because you only have two choices to make.
So be sure not to divide your keep pile into further categories.
When I finally made a point to get my household paper under control, my life changed drastically. I didn’t have anxious feelings looming over me, I wasn’t constantly wondering what needed to be done next, we were able to enjoy eating at our dining room table for the first time in years, and I could find exactly what I needed right when I needed it!
Sort through your first pile tonight while you’re watching TV, and before you know it, you’ll have decluttered every piece of paper in your home.
If you need more support along your decluttering journey, grab the free declutter checklist below so you can learn the 5 main steps you need to know to get rid of your clutter and create a home that serves you and your family. 👇
Related Posts:
How to Declutter When You’re Overwhelmed
Scheduling a Donation Pickup for Decluttered Items
How to Sell Your Clutter Online
Stop Procrastinating and Start Decluttering


Leave a Reply
You must be logged in to post a comment.